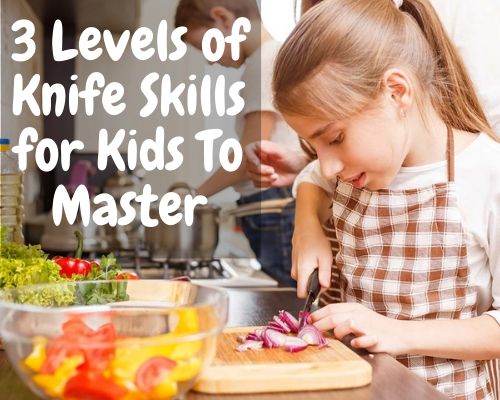
When it comes to teaching kids to cook, there are different knives to master in a safe and progressive way.
Level 1: Using The Metal Dinner Knife
We start our cooking class using the metal dinner knife to chop strips of vegetables into small pieces because it’s very, very safe. A dinner knife has slightly serrated edge, but it’s not very sharp.
You can use the metal dinner knife to form pre-chopped vegetables into smaller pieces.
To start your child’s culinary journey have him or her chop basic vegetables that are chopped into long strips such as bell peppers, carrots and Zucchini. You can also cut strawberries into small pieces or cut cherry tomatoes in half.
Always make sure your child is next to you with his or her own cutting board. Also, show them how to chop each piece into smaller bits, then watch as they work on their skills.
Holding The Knife: You hold it like a wand, with your hand completely wrapped around it.
Chopping Motion: Cut each piece individually. Using your opposite hand to firmly hold the vegetable in pace.
Safety: Make sure the vegetable lies FLAT on the cutting board. I.e. If you have a zucchini in it’s natural state, it will roll around it, but if you cut it in half and then into strips it will stay flat on the cutting board.
Once your child can chop bell peppers, zucchini, onion slices and cherry tomatoes, you can move up to…
Level 2: Using the Pairing Knife
The pairing knife is a small knife, usually about 5-6” in length and is used for making small cuts. An appropriate activity for a pairing knife would include:
– Coring an apple
– Trimming the stems off of strawberries
– Cutting garlic or shallots
It’ll be used for anything where having a large chef knife is a bit overkill.
With kids, the beauty of a pairing knife is it’s actually sharp (and should be as sharp as a Chef knife.) In future posts I’ll go over how to sharpen your knives.
Join today at www.VirtualCookingCamp.com