The most common question I get is “How can you teach a cooking class without a kitchen?”
We’ve taught cooking classes in a LOT of environments including:
- Cafeterias
- Dining Halls
- Classrooms
- Teacher’s Lounges
- Outsider (definitely my least favorite)
All we need is a room with table and chairs (for the kids to sit in) and an electrical outlet.
Here are the key elements for how we prepare for a healthy culinary workshop at a school.
- The Electric Skillet Plate Makes It All Work
My most favorite kitchen tool (besides my 8” Henekl chef knife) is the Electric skillet. I’ve purchased hundreds of these over the years for our Chef Teachers to be able to teach in any classroom. It’s $50 and lasts a while. I typically go with the 16” versus the 12” because it offers more surface area for cooking for large groups. Since our workshops are for up to 20 students, this allows us to make more veggie sliders, black bean quesadillas and healthy orange chicken!
The pros of the Oster electric skillet
- No flame! It’s safe to use in a classroom environment
- Nonstick. Which makes it easy to clean, plus you don’t need much oil when sauteing vegetables for Pasta Primavera (link)
- Easy to setup. With a screwdriver, I can ship it to a new charter school we work with and then set it up in a few minutes
- High-rimmed sides. This helps us keep the food from falling over the side and we can saute a lot at once.
- Light. It doesn’t weigh much, which is key for transportation.
Cons
- The heating coiling. On the bottom of the skillet is a metal ring that conducts the heat. Unfortunately this means the skillet does not cook as efficiently as a pan on a gas stove. As a Chef Teacher, we train our staff how to work around this, and the average home cook wouldn’t notice a difference…but we do!
- Nonstick surface. It can scratch and it wears down over time, unlike cast iron. However, these skillets can teach a lot of classes before being replaced.
- Teaching “Benihana” Style (In FRONT of the kids)
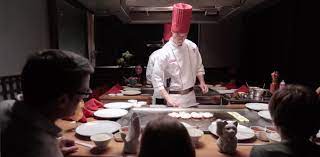
When you go to a Japanese restaurant like Benihana, the magic of the experience is not so much the food as it is being in front of the Chef as he or she cooks the meal in front of you.
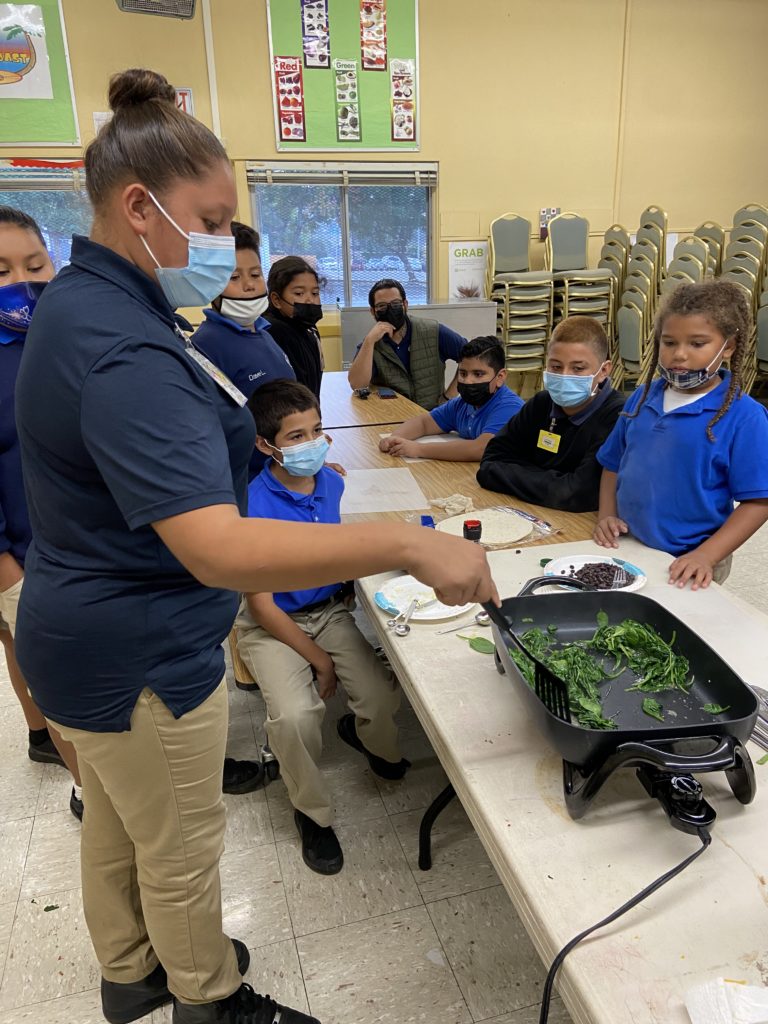
While our Chef Teachers aren’t setting mountains of onions on fire or flipping shrimp into the air, we situate the class experience so that the students are surrounding the Chef Teacher and electric skillet. With the Chef Teacher in the center, students sit to the sides and in front of the Chef
When the electric skillet is in FRONT of the kids they can see and smell the food! Plus they can help add the ingredients, add spices, stir, saute and understand the timing elements of cooking.
- It’s all the Prep!
One of the most important culinary concepts we teach is “Mise en Plas” which is a French term for “Everything in place.” The preparation before the class starts makes sure everything runs smoothly during the 1-hour experience.
For Pasta Primavera:
- We cook the pasta beforehand and let it cool. If we’re teaching 3 workshops back-to-back, we’ll have 3 individually sealed bags of cooked pasta.
- We pre-wash all produce (zucchini, bell pepper, parsley)
- Portion out all of the ingredients in advance
- Chop parsley and pre-grate the cheese.
When the class starts, kids can see all the ingredients and immediately get to chopping the zucchini, onion and bell peppers.
We’ll often pre-cook rice or other carbs that take a while to cook. This keeps each workshop move smoothly during the day
- Class Setup
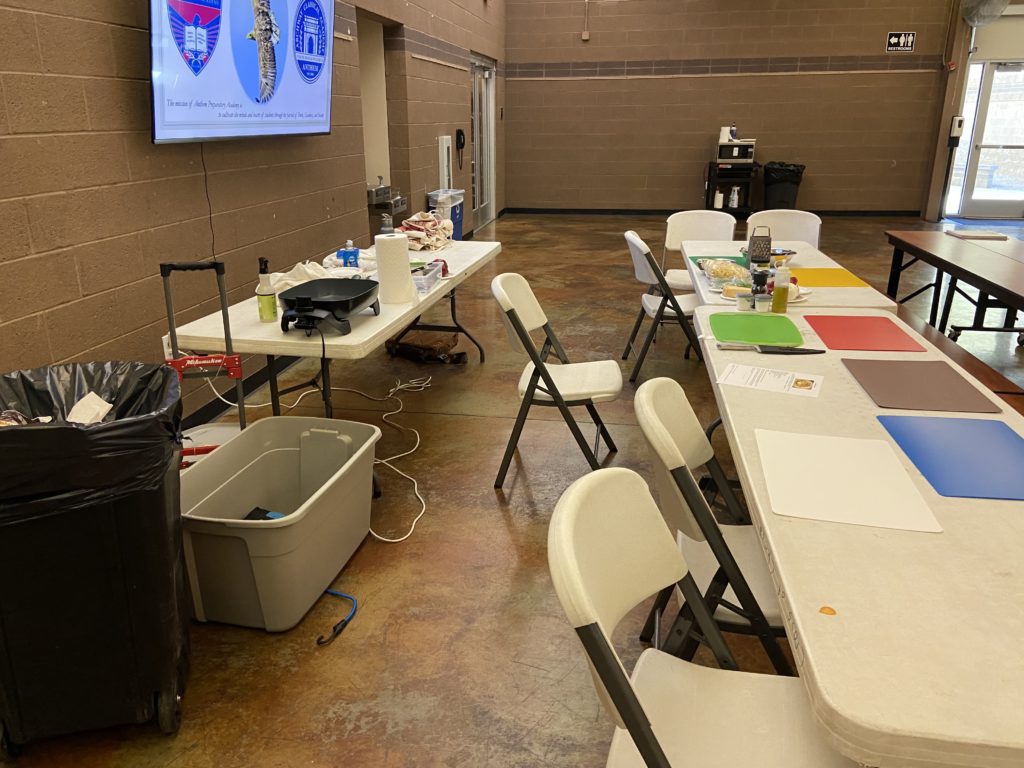
The ideal setup involves a foldup table that the Chef Teacher can stand in front of. Then you can setup tables on each side for kids to sit at.
The table the chef uses doesn’t work well if it’s a bench, because the seats don’t allow the Chef to be close to his or her chopping board and skillet.
Behind the chef, we’ll need another table to put things away from the kids like the skillet or extra ingredients. The Chef needs to stand in the center, with students encircling the chef. We’ll also need one trash can.
Kids need to sit!
If kids stand, they are likely to roam and move around the room, which makes class management extremely difficult.
This is often why we would rather teach in a large space like a cafeteria rather than a real kitchen because there are often no chairs for kids to sit.
- Effective Cleanup
We will need access to a sink to clean up between workshops. The sink doesn’t have to be in the room, but it’s helpful to have it nearby.
Our Chef Teachers will have paper towels, dish towels and soap as needed to keep the class environment clean. When we’re done, it’s almost like the class wasn’t even there!
To book a FREE healthy culinary workshop for your district CLICK Here
Read More:
The Best Recipe We’ve Taught To Over 10,000 students (Pasta Primavera)
How We Partner With Charter, Public and Private Schools in 2022
How We Are Bringing Back In-Person Culinary Workshops to Schools in 2021 and Beyond
GEAR UP West 2021 Review: Making Friends, Native American Dance and Very Early Flights
Giving Back: Volunteering, Arizona Entrepreneurs and How To Market A Small Business